Basic Terrain Editing Tutorial
This will guide you through creating your first landscape in Geoscape3d. This will guide you through creating an island with a volcano.
1) Experiment with moving around the 2d heightmap view using the Zoom In / Zoom out and Pan buttons. This will allow you to get more accurate results when you need to fine tune the heightmap features. If you have a mouse wheel, this will allow you to quickly zoom in and out of the view. Also, try moving around the 3d view. Press the left mouse button down on the 3d view and move the mouse to allow you to alter the angle of the view. To move forward and backwards, use the up and down cursor keys. When the cursor is over the 3d view, use the mouse wheel to move forward and backwards. The left and right cursor keys move the view left and right.
2) Switch to wireframe mode. The default landscape is flat, so first of all we need to raise some land. Run the build tool and set the properties to these settings.
brush: 75 grid units
strength: 100 grid units
type: square brush
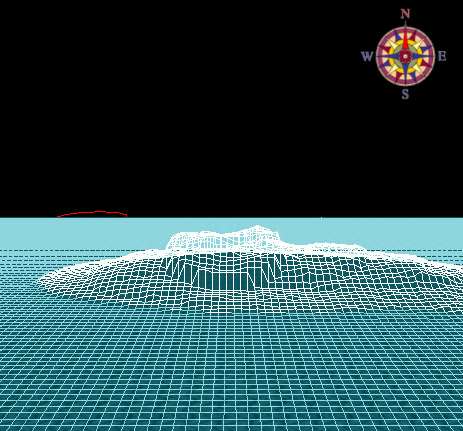
Now around the centre of the heightmap, "paint" the terrain on until you have an island by holding down the left mouse button and moving around. You should end up with something that looks like this.

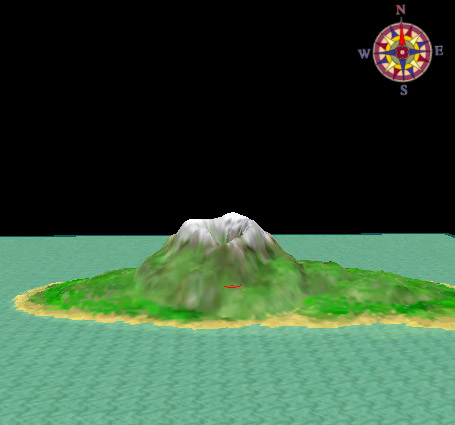
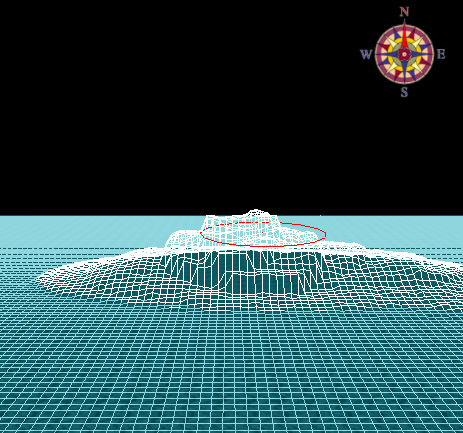
2) Now we have some land, we want to create a volcano. Choose the part of the island to place the volcano and run the build tool, if it is not already running. Press and hold the left mouse button but do not move it the build tool on that point. After a slight delay, this will raise the area under the brush upwards. Raise it a 1/3 of the height of your volcano and release the button. Move the brush to the side of the this point so that it overlaps the original point and repeat. Try this several times until you have a volcano appearing.
If you make a mistake, use the undo option on the edit menu ( Ctrl+Z ) to remove the erroneous terrain and try again. You should have something that looks like this:
|
|
|
|
|
|

3) We now need to make the terracing on the volcano less harsh, so we run the smooth tool with a brush size of 25 grid units. Press the left mouse button down and move the mouse around the slopes of the volcano and you should get a result like this.

4) Now we must create the crater. So, run the dig tool and select a small brush size, say 10 grid units and excavate the crater from the top of the volcano. Don't forget you can zoom in on the heightmap to get more accurate results and you may wish to switch to shaded view to give you better feedback.

5) Now we can create the texture for the terrain. Click on the Edit Texture Settings... button. You should see this dialog.
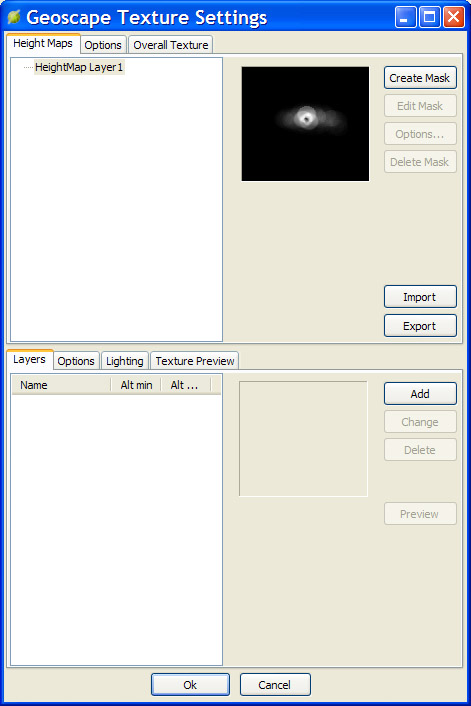
Press the Import button and select the file "grassyMountains.gts" in the install directory of Geoscape3d. This will give you a list of textures to use. Go to the Overall Texture tab at the top and press the Generate button. Then when the texture is generated, press the Ok button at the bottom and you can now see how easy it is to create terrain in Geoscape3d.